Tableau [<< Précédente] [suivante >>]
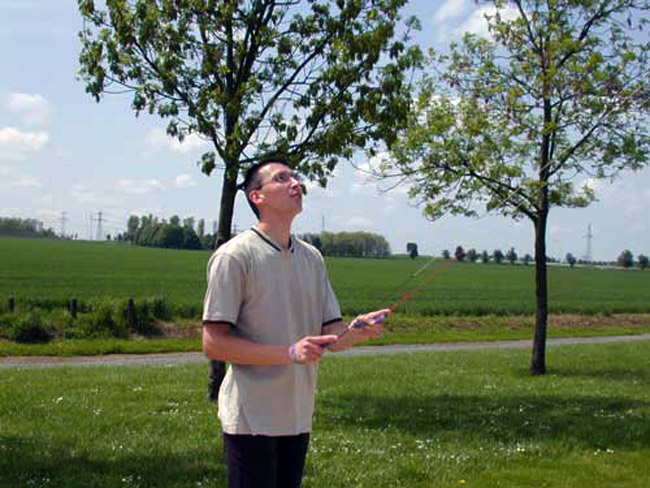
1 Alain l'ex leader de la paire FS 2 Le grand David en action 3 Didier et Alain 4 Discussion à l'ombre 5 Le trés sympathique Fabrice (JMB) 6 Félix, le futur est devant lui. Et il en veut 7 Jean-Pierre. Monofil ou pilotable !! 8 Luc, leader de la paire 0'Blaire en répitition 9 Ronan. Futur Champion du monde avec Overdrive !! 10 Notre spot en pleine activité. C'est tout les week-end 11 Thierry, le second de la paire O'Blaire. Il est aussi jongleur. 12 Tir groupé de ce samedi Image 2 de 12
Le grand David en action